Are you ready to upgrade your computer's brain? Installing a new CPU can be a daunting task, but with the right guidance, you can do it like a pro. Whether you're building a new rig or just giving your current setup a much-needed boost, this blog post will walk you through the process step-by-step.
https://pcmart.net.au/collections/cpu
Gather Your Supplies
Before you dive in, make sure you have everything you need. Head over to PC MART, your one-stop-shop for all things computer-related. They carry a wide range of major brands like Intel, HP, Toshiba, and more, so you can find the perfect CPU for your needs.
In addition to your new CPU, you'll also need a few other items:
- Thermal paste
- A clean, well-lit workspace
- A screwdriver set
- Patience and a steady hand
Prepare Your Workspace
Choose a clean, well-lit area to work in. You don't want any dust or debris getting into your computer's sensitive components. Lay out all your tools and supplies within easy reach, and make sure you have enough space to comfortably maneuver.
Disconnect the Old CPU
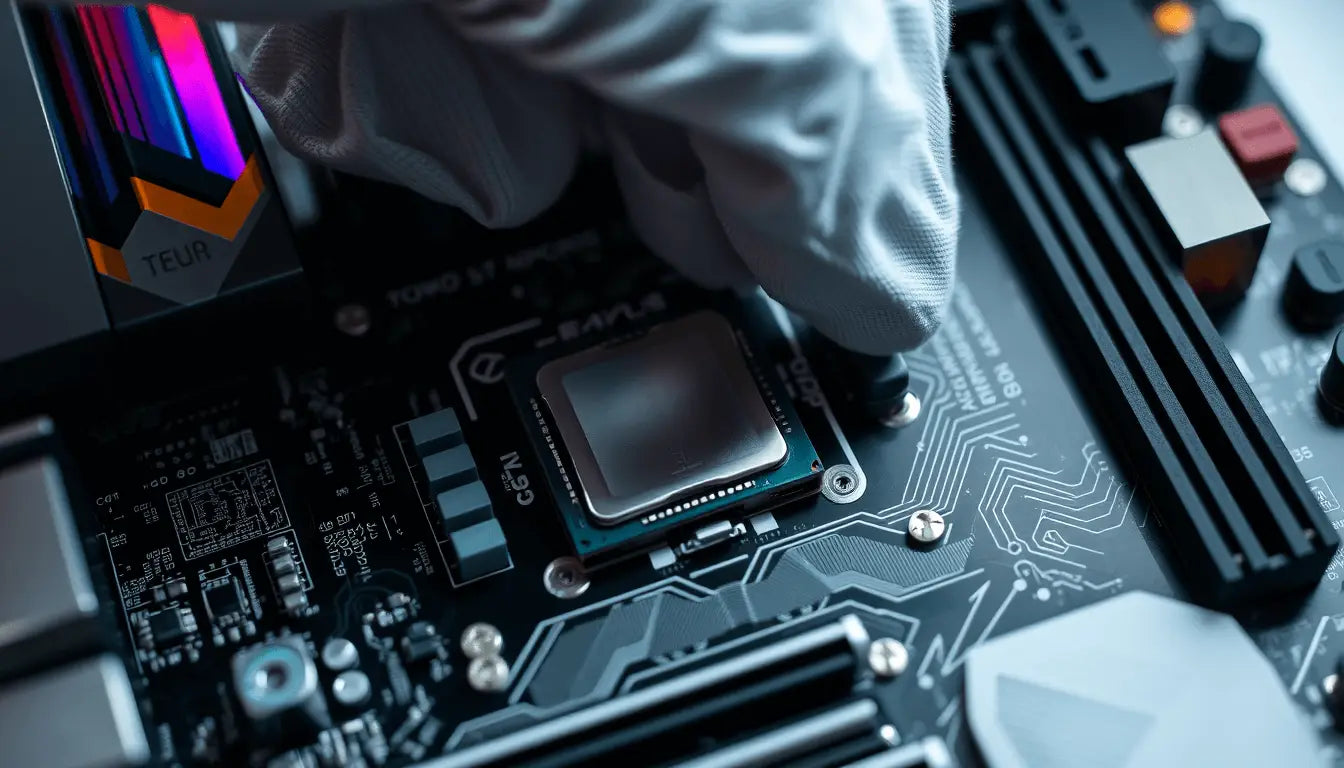
Carefully remove your computer's side panel and locate the CPU socket. Gently lift the lever and open the socket. Use caution - the pins on the socket are delicate and can be easily bent or damaged.
Gently lift the old CPU out of the socket. Be careful not to touch the pins on the underside of the CPU. Place the old CPU in a safe place, as you may need it again in the future.
Apply Thermal Paste
Before installing your new CPU, you'll need to apply a thin layer of thermal paste to the top of the CPU. This helps transfer heat from the CPU to the heatsink, keeping your system running cool and stable.
Use a small, pea-sized amount of thermal paste and spread it evenly across the surface of the CPU. Avoid using too much, as this can actually hinder heat transfer.
Install the New CPU
Carefully align the new CPU with the socket, making sure the notches on the CPU match the socket's alignment keys. Gently lower the CPU into place, taking care not to bend any pins.
Once the CPU is seated, close the socket lever and secure it in place. Double-check that the CPU is properly installed and the socket lever is locked down.
Attach the Heatsink
The final step is to attach the heatsink and fan assembly. Carefully place the heatsink over the CPU, aligning the mounting brackets with the holes on the motherboard. Secure the heatsink in place according to the manufacturer's instructions.
Plug in the heatsink's power connector to the appropriate header on the motherboard, and you're all set!
Power On and Enjoy
With your new CPU installed, it's time to power on your system and enjoy the performance boost. Keep an eye on your temperatures to ensure everything is running smoothly, and don't hesitate to reach out to the experts at PC MART if you have any questions or issues.
Happy upgrading!


1 comment
Anonymous
Nice