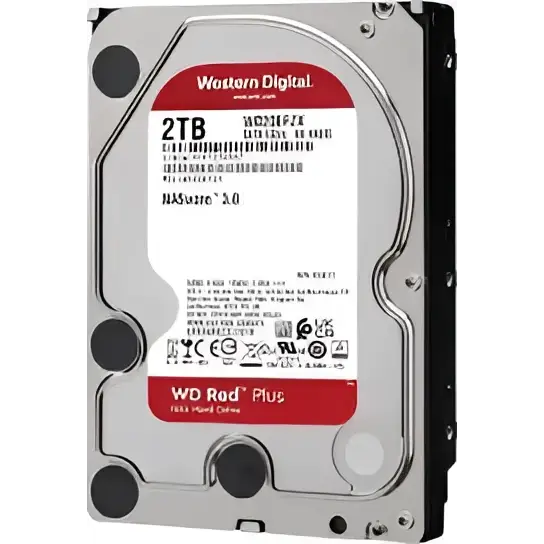
As technology continues to advance, the demand for more storage space has become increasingly important. Whether you're a gamer, a content creator, or simply someone who needs to store a vast collection of files, having a reliable and high-capacity storage solution is crucial. If you're looking to upgrade your computer's storage, you've come to the right place. In this blog post, we'll guide you through the process of installing a new hard drive or SSD (Solid-State Drive) in your desktop or laptop.
Preparing for the Upgrade
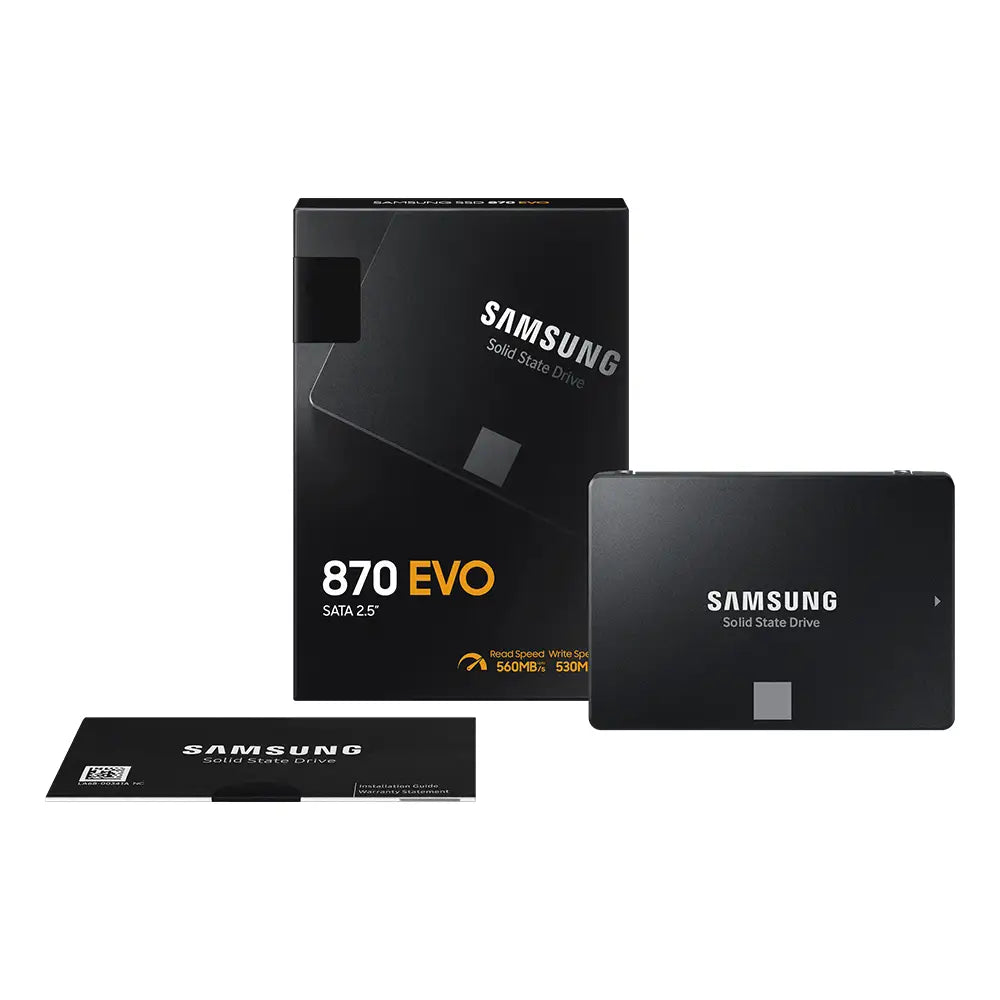
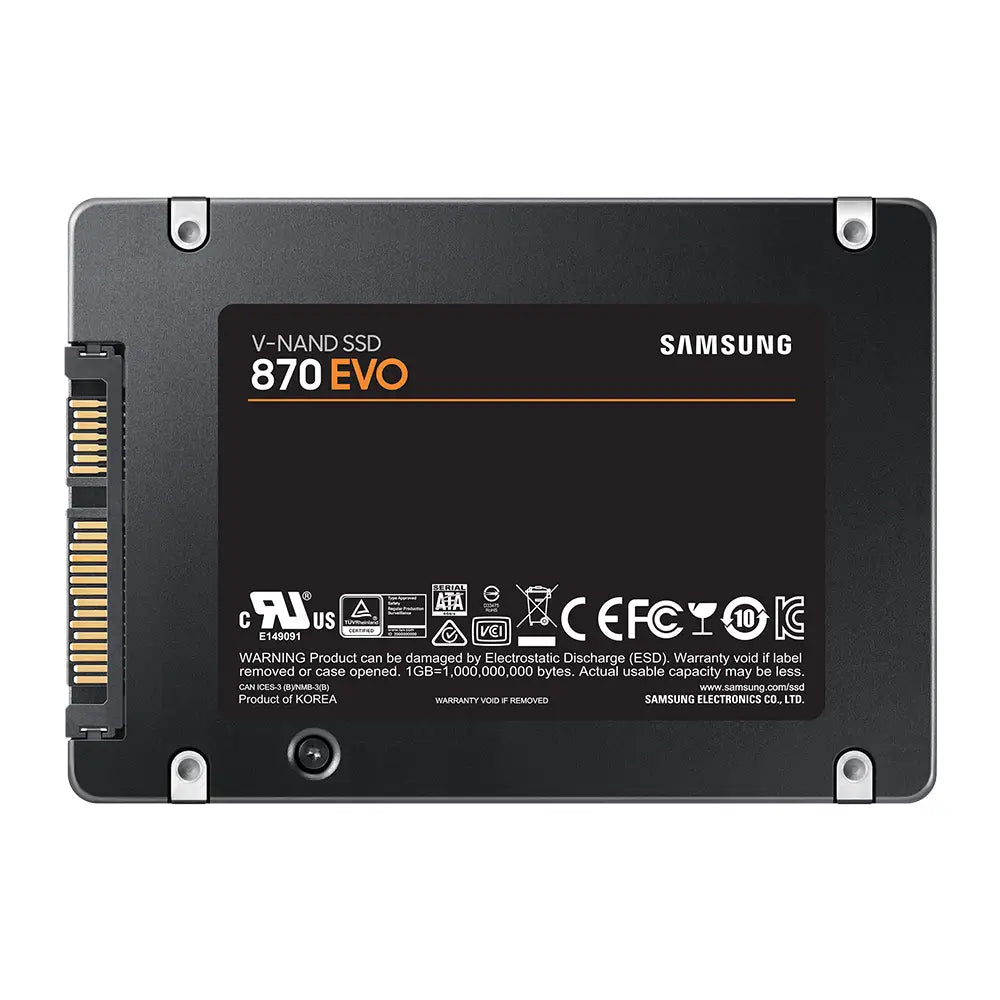
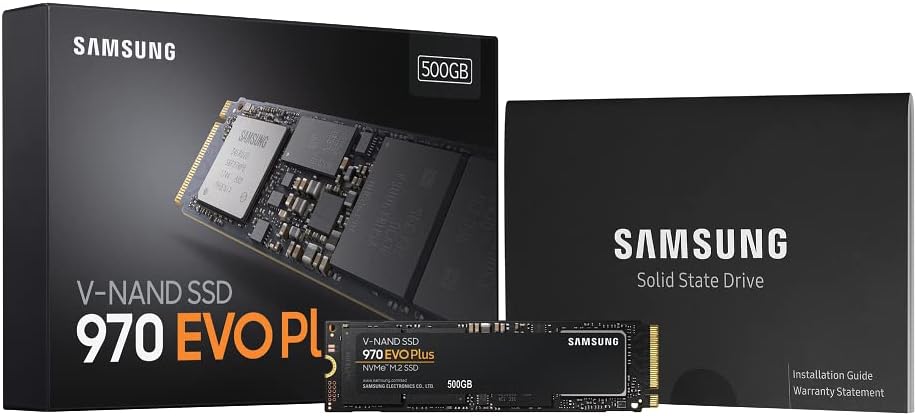
Before you begin the installation process, it's important to ensure that you have all the necessary components. At PC MART, we carry a wide range of storage solutions, including traditional hard drives, solid-state drives, and the latest M.2 NVMe drives. Depending on your system's requirements, you'll need to choose the appropriate drive that fits your needs.
https://pcmart.net.au/collections/storage
Once you have the new drive, you'll also need a SATA cable (for traditional hard drives and SATA-based SSDs) or an M.2 screw (for M.2 drives). If you're upgrading a desktop computer, you may also need a power cable to connect the new drive to your system's power supply.
Installing a New Hard Drive or SSD
The installation process can vary slightly depending on whether you're upgrading a desktop or a laptop, but the general steps are similar.
Desktop Computers
- Power off your desktop computer and unplug the power cable.
- Open the computer's case and locate the available drive bays.
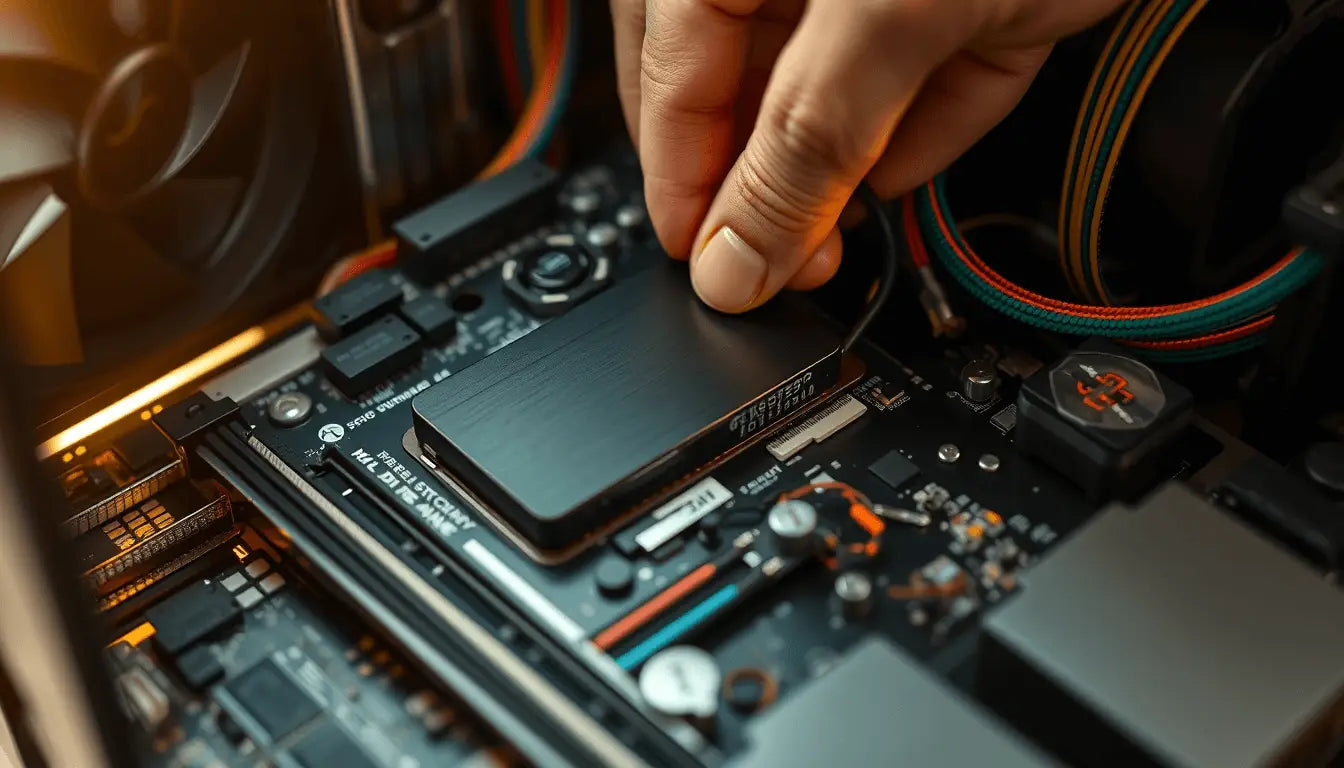
- Carefully insert the new drive into the available bay and secure it in place using the appropriate screws.
- Connect the SATA cable to the new drive and the corresponding SATA port on your motherboard.
- If required, connect the power cable to the new drive.
- Close the computer's case and reconnect the power cable.
Laptops
- Power off your laptop and unplug the power adapter.
- Locate the access panel or compartment where the storage drive is located. This is usually on the bottom of the laptop.
- Remove the screws or panel to access the existing drive.
- Carefully remove the old drive and insert the new drive in its place.
- Secure the new drive using the appropriate screws.
Formatting and Partitioning the New Drive
Once the physical installation is complete, you'll need to format and partition the new drive to make it usable. This process can be done through the Windows Disk Management tool or by using a third-party disk management software.
- Open the Disk Management tool (right-click the Start button and select "Disk Management").
- Locate the new drive and initialize it as a basic disk.
- Create a new partition and format it with the desired file system (typically NTFS for Windows).
- Assign a drive letter to the new partition, and you're ready to start using your upgraded storage!
Remember, if you're transferring data from your old drive, it's always a good idea to back up your important files before beginning the installation process. At PC MART, our knowledgeable staff is always available to provide further assistance and guidance if you have any questions or concerns during the upgrade process.
Upgrading your computer's storage can be a straightforward task, and with the right tools and guidance, you can easily boost your system's performance and storage capacity. Visit PC MART today to explore our wide selection of storage solutions and let us help you take your computing experience to the next level.

